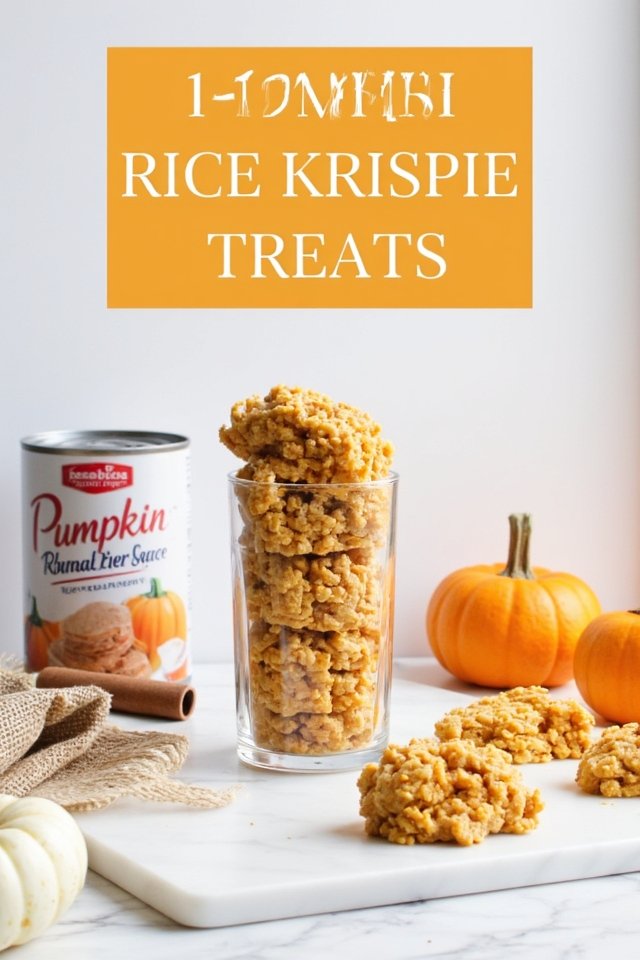
I’m so excited to share my favorite fall twist on a classic treat!
These Pumpkin Rice Krispie Treats combine that satisfying crunch with warm pumpkin spices that’ll make your kitchen smell amazing.
They disappear faster than regular Rice Krispies every time.
The secret? Real pumpkin and the perfect blend of spices.
Want to know how to get them to stay soft and gooey while still holding their shape?
There’s a simple trick coming up…
Ingredients
- Rice Krispies cereal
- Canned pumpkin
- Butter
- Mini marshmallows
- Pumpkin pie spice
- Vanilla extract
- Orange gel food coloring (optional)
- White chocolate chips (optional)
Recommended Tools
When making these delicious Pumpkin Rice Krispie Treats, having the right tools in your kitchen can make the process so much smoother and more enjoyable. These essential items will help you measure, melt, mix and shape your treats with ease so you can focus on the fun part – enjoying them!
- 9×9 Inch Baking Pan
The perfect size for making rice krispie treats that have the ideal thickness and are easy to cut into squares.
- Medium Saucepan
Essential for melting butter and marshmallows together smoothly without burning.
- Silicone Spatula
Makes stirring and folding ingredients together much easier while scraping every bit of marshmallow mixture from the pan.
- Measuring Cups
Helps you measure the perfect amount of Rice Krispies cereal and pumpkin for consistent results.
- Measuring Spoons
Necessary for accurately measuring smaller ingredients like vanilla extract and pumpkin pie spice.
- Paper Towels
Used to drain excess moisture from the canned pumpkin, ensuring your treats have the perfect texture.
- Microwave-Safe Bowl
Helpful for melting white chocolate chips if you choose to add the optional drizzle on top.
- Sharp Knife
Makes cutting your finished treats into neat squares clean and simple.
Instructions
- Start by buttering a 9×9 inch pan. Don’t skimp on this step—it’ll save you from a sticky mess later!
- Place your ¼ cup of canned pumpkin on paper towels and let it drain for 5-10 minutes. This little trick prevents your treats from getting too soggy—nobody wants that!
- In a saucepan over medium heat, melt your 4 tablespoons of butter. Once it’s all melty and wonderful, add the drained pumpkin and give it a good stir.
- Toss in your bag of mini marshmallows and ½ teaspoon of vanilla extract. Keep stirring until everything’s melted together into a gooey, dreamy mixture.
- Now for the fall magic! Mix in 1 teaspoon of pumpkin pie spice. Want that classic orange color? Add a few drops of orange gel food coloring if you’re feeling fancy!
- Remove your pan from the heat and fold in 6 cups of Rice Krispies cereal. Work quickly but gently to coat every piece with that pumpkin-y goodness.
- Transfer the mixture to your buttered pan and press it down evenly. Pro tip: Use buttered hands to prevent sticking, but don’t press too hard or you’ll end up with super dense treats!
- Let the mixture cool completely. If you’re in the mood for extra yumminess, melt ½ cup of white chocolate chips and drizzle it over the top in pretty patterns.
- Once everything’s cooled down, cut into squares and watch them vanish before your eyes!
Store any leftovers (if there are any!) in an airtight container to keep them fresh.
Now go grab a treat and enjoy your pumpkin masterpiece!
Pro Tips
When pressing the Rice Krispie mixture into the pan, lightly coat your hands with butter first to prevent the sticky mixture from clinging to your fingers, making the process much cleaner and faster.
Substitutions & Variations
These classic pumpkin Rice Krispie treats can be customized with creative twists that maintain their fall essence while adding unique flavors and textures.
- Chocolate Pumpkin Swirl: Add 1/2 cup melted semi-sweet chocolate chips to half the marshmallow mixture before adding Rice Krispies, then swirl the chocolate and regular mixtures together in the pan.
- Maple Pecan Crunch: Replace vanilla extract with maple extract and fold in 1/2 cup chopped toasted pecans with the Rice Krispies for added crunch and nutty flavor.
- Gluten-Free Option: Substitute Rice Krispies with a certified gluten-free crispy rice cereal to make these treats accessible for those with gluten sensitivities.
- Salted Caramel Drizzle: Top cooled treats with store-bought caramel sauce and a sprinkle of flaky sea salt instead of white chocolate for a sweet-salty combination.
- Coconut Pumpkin: Mix in 1/2 cup toasted coconut flakes with the Rice Krispies and sprinkle additional coconut on top before the treats set for tropical flair.
Leftovers & Storage Tips

While your homemade pumpkin Rice Krispie treats will likely disappear quickly, proper storage techniques ensure any leftovers maintain their delightful chewiness for days.
Store them in an airtight container with parchment paper between layers to prevent sticking.
They’ll stay fresh at room temperature for 3-4 days.
Don’t refrigerate them—it’ll make them hard!
For longer storage, wrap individually and freeze for up to a month.
##
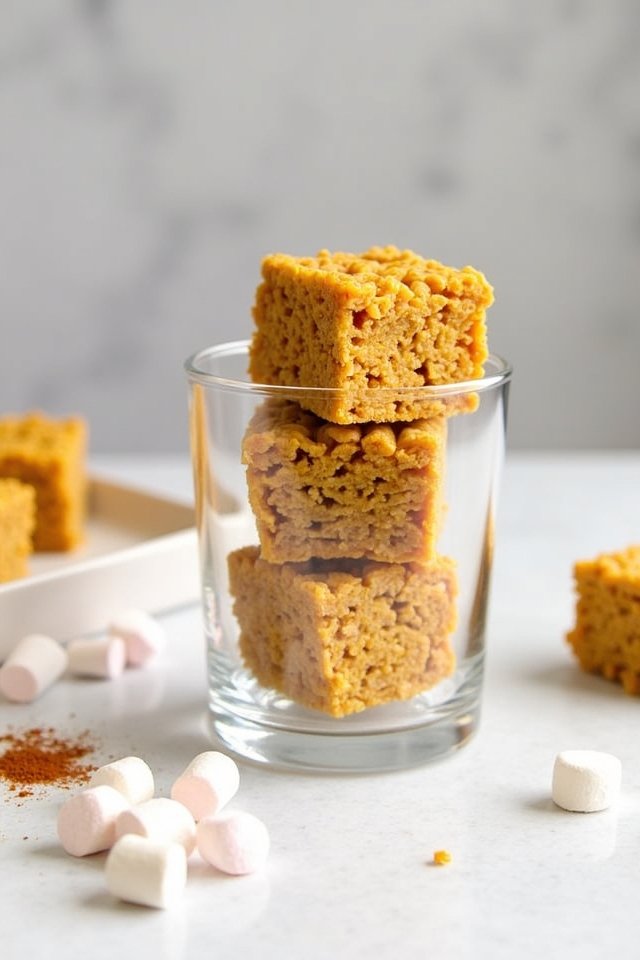
Pumpkin Rice Krispie Treats
Festive fall-flavored Rice Krispie treats with real pumpkin and warm spices.
- 6 cups Rice Krispies cereal
- ¼ cup canned pumpkin
- 4 tbsp butter
- 1 bag (about 10-16 oz) mini marshmallows
- 1 tsp pumpkin pie spice
- ½ tsp vanilla extract
- Orange gel food coloring (optional)
- ½ cup white chocolate chips (optional)
- Butter a 9×9 inch pan.
- Drain pumpkin on paper towels for 5-10 minutes.
- Melt butter in saucepan over medium heat, add pumpkin and stir.
- Add marshmallows and vanilla; stir until melted.
- Stir in pumpkin pie spice and optional food coloring.
- Remove from heat, fold in Rice Krispies.
- Press mixture evenly into pan; let cool.
- Melt white chocolate; drizzle on top (optional).
- Cool, cut into squares, and serve.
