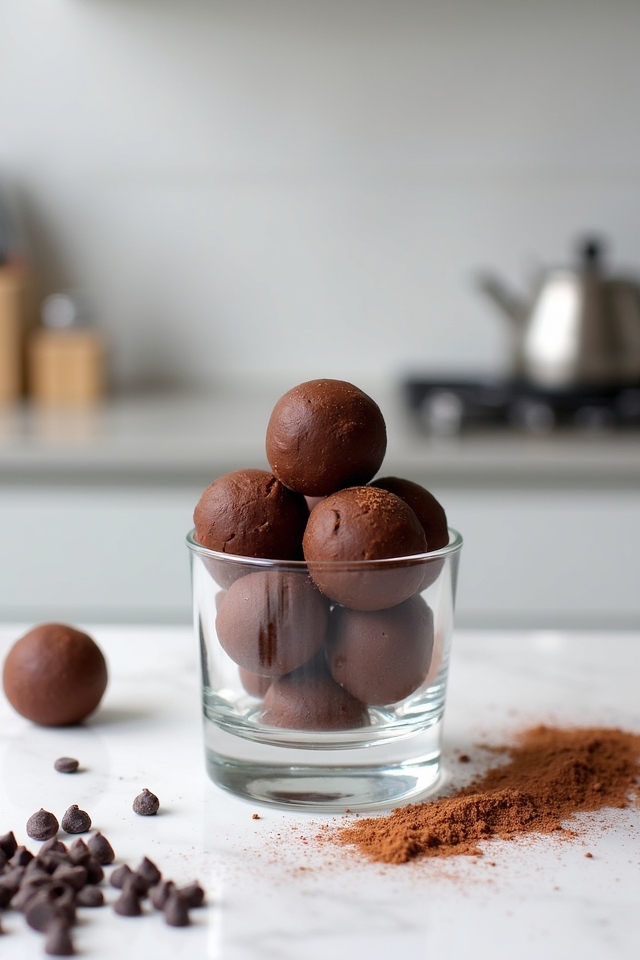
No-bake chocolate truffles gluten free are my go-to treat!
Just heat cream and butter, pour over chocolate chips and stir until smooth.
Chill the mixture, roll into balls and coat with cocoa powder.
These treats are versatile. Add coconut, espresso or even a splash of liqueur for different flavors.
Keep fingertips dusted with cocoa to prevent sticking while rolling.
These silky treats store beautifully for two weeks in the fridge, if they last that long!
Ingredients
Recommended Tools
Making delicious chocolate truffles at home doesn’t require fancy equipment or professional tools. With just a few basic kitchen items you probably already have, you can create these no-bake gluten-free chocolate treats without any hassle.
These simple tools will help you melt, mix and shape your truffles perfectly every time.
- Small Saucepan:
Essential for heating the heavy cream and butter until steaming without scorching.
- Mixing Bowl:
Holds your chocolate chips while you pour the hot cream mixture over them for melting.
- Silicone Spatula:
Perfect for stirring the chocolate mixture until smooth and scraping every bit from the bowl.
- Cookie Scoop:
Makes portioning the chilled truffle mixture into uniform balls quick and less messy.
- Shallow Dish:
Ideal for holding the cocoa powder while you roll and coat your chocolate truffles.
- Airtight Container:
Keeps your finished truffles fresh in the refrigerator until you’re ready to serve them.
Instructions

Let’s make these super-easy chocolate truffles that require zero baking and just a handful of ingredients!
First, grab your 1/2 cup of heavy cream and 2 tablespoons of unsalted butter and heat them together in a saucepan. You don’t want to boil them—just get them nice and steamy.
When they’re hot and the butter has melted completely, pour this mixture over your 1 cup of dark chocolate chips in a bowl.
Now for the magic moment! Let everything sit untouched for about 2 minutes. This gives the chocolate time to start melting from the heat.
After waiting (I know, it’s hard!), grab a spoon and stir everything until it’s silky smooth. If you see any stubborn chocolate chunks, keep stirring—they’ll surrender eventually!
Pop your chocolate mixture into the fridge and let it chill until it’s firm enough to handle, which takes about an hour. Want to speed things up? The freezer works too—just don’t forget about it in there!
Once your chocolate is firm, scoop out small portions with a teaspoon or melon baller and roll them between your hands to form cute little balls.
Work quickly because they’ll start to melt from the warmth of your hands. If things get too messy, pop the mixture back in the fridge for 10 minutes to firm up again.
Finally, roll each truffle in cocoa powder until completely coated. Ta-da! You’ve just made fancy-looking chocolate truffles that’ll impress everyone at your next get-together!
Pro Tips
To create perfectly smooth truffles that don’t stick to your hands, lightly coat your fingertips with a small amount of cocoa powder before rolling the chocolate mixture into balls.
This prevents the ganache from melting from your body heat and creates beautifully round shapes with minimal mess.
Substitutions & Variations
These simple truffles are incredibly versatile and can be customized with various flavors, textures, and coatings to create your own signature treat.
- Coconut Coated: Instead of cocoa powder, roll the finished truffles in shredded coconut for a tropical twist and contrasting texture.
- Nut Butter Infused: Add 2 tablespoons of peanut butter, almond butter, or cashew butter to the chocolate mixture for a rich nutty flavor profile.
- Espresso Chocolate: Mix in 1 tablespoon of instant espresso powder to the warm cream for coffee-infused truffles that complement the dark chocolate perfectly.
- Liqueur Flavored: Replace 1 tablespoon of cream with your favorite liqueur such as Grand Marnier, Baileys, or Kahlúa for sophisticated adult truffles.
- Spiced Chocolate: Add a pinch of cayenne pepper, cinnamon, or cardamom to the chocolate mixture for a warming aromatic variation.
- Crunchy Coating: Roll finished truffles in crushed nuts, cookie crumbs, or colorful sprinkles instead of cocoa powder for visual appeal and textural contrast.
Leftovers & Storage Tips

When properly stored, these decadent chocolate truffles will maintain their flavor and texture for up to two weeks, making them perfect for advance preparation or enjoying gradually.
I recommend keeping them in an airtight container in your fridge, separated by parchment paper to prevent sticking.
Just bring them to room temperature for about 10 minutes before serving for the best melt-in-your-mouth experience!
Get Silky Smooth Results
No-Bake Gluten-Free Chocolate Truffles
Simple 4-ingredient gluten-free chocolate truffles that require no baking.
- 1 cup dark chocolate chips
- 1/2 cup heavy cream
- 2 tablespoons unsalted butter (dairy-free if needed)
- Cocoa powder (for rolling)
- Heat heavy cream and butter in a saucepan until steaming; pour over chocolate chips.
- Let sit 2 minutes, then stir until smooth.
- Chill mixture until firm (about 1 hour).
- Scoop and roll into balls, then coat with cocoa powder.
