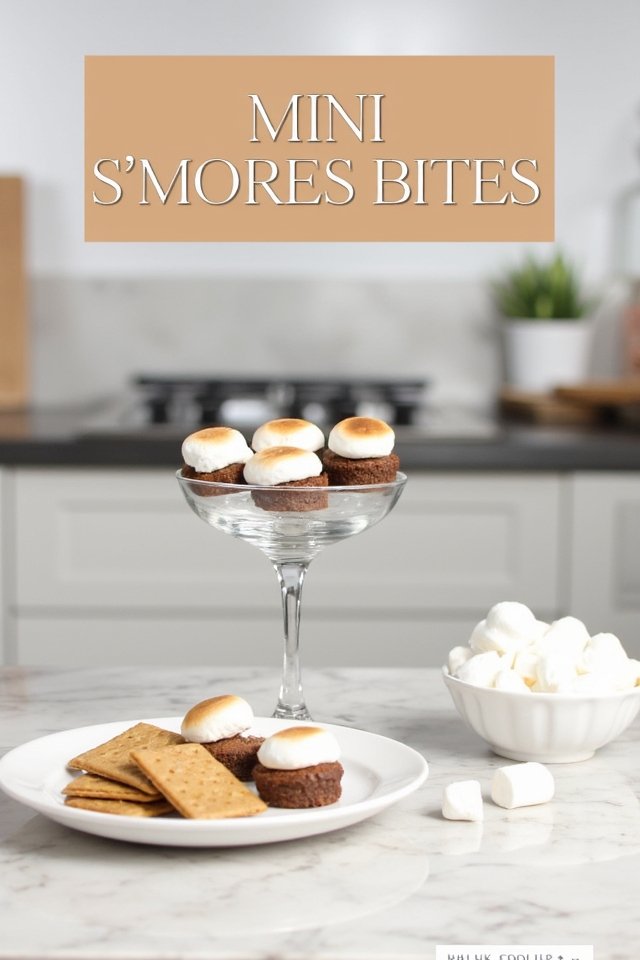
I’ve got a major sweet tooth confession to make. These Mini S’mores Bites have completely changed my dessert game!
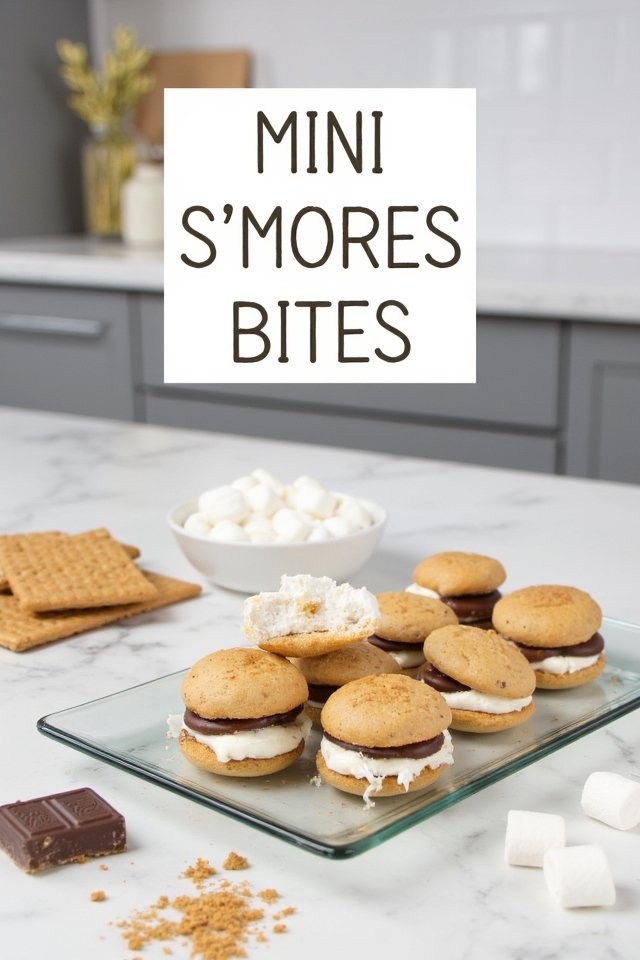
Imagine all the gooey, chocolatey goodness of traditional s’mores, but in perfect bite-sized portions with no campfire needed.
They’re super simple to whip up and always disappear within minutes at gatherings.
Once you see how that marshmallow gets all golden and melty on top of rich chocolate, you’ll wonder why you haven’t been making these adorable treats all along!
Ingredients
Recommended Tools
Making Mini S’mores Bites doesn’t require fancy equipment, but having the right tools will make the process so much easier. These kitchen essentials will help you create perfect bite-sized treats that look as good as they taste – and most of them are probably already in your kitchen!
- Mini Muffin Pan
Essential for creating those perfect bite-sized graham cracker cups that hold all the delicious filling.
- Food Processor
Makes quick work of crushing graham crackers into fine, even crumbs for the perfect crust texture.
- Mixing Bowls
Needed for combining graham cracker crumbs with powdered sugar and melted butter to form the crust mixture.
- Kitchen Scissors
Perfect for quickly cutting marshmallows in half without the sticky mess on your knife or cutting board.
- Measuring Cups
Helps ensure the right ratio of graham cracker crumbs, powdered sugar and butter for a perfect crust.
- Non-Stick Cooking Spray
Greasing the mini muffin pan properly means your s’mores bites will release easily without breaking.
- Kitchen Timer
Crucial for watching those marshmallows under the broiler since they can go from perfect to burnt in seconds.
Instructions
Ready to whip up the cutest, most pop-able treats ever? Let’s make some mini s’mores bites that’ll disappear faster than you can say “campfire”!
Start by crushing those graham crackers into fine crumbs – go ahead and take out any frustrations on those crackers! Mix these crumbs with powdered sugar and melted butter until they’re best friends. The mixture should hold together when you squeeze it.
Now grab your mini muffin pan (this is your secret weapon for perfect bite-sized treats!) and give it a light coating of non-stick spray. Press the graham cracker mixture into each cup, creating adorable little crusts. Don’t worry about perfection – these are rustic treats!
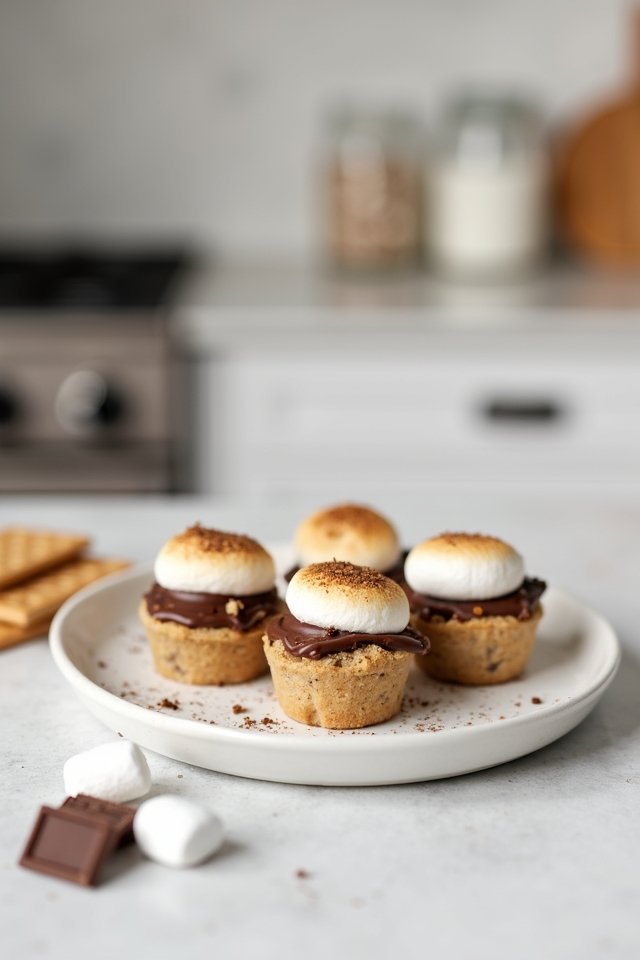
Pop your pan into the oven for 4-5 minutes until they’re golden brown and smelling amazing. While they’re still warm, place one Hershey’s chocolate square into each cup. The residual heat will start that melty magic happening!
Cut your large marshmallows in half (kitchen scissors work great for this!) and place each half cut-side down on top of the chocolate. This gives you the perfect marshmallow-to-chocolate ratio in every bite.
Now comes the exciting part! Turn on your broiler and slide these babies under it for just 1-2 minutes. Keep your eyes glued to that oven – those marshmallows go from perfectly toasted to charcoal in seconds flat!
Once they’re sporting that gorgeous golden-brown top, pull them out and let them cool before removing from the pan. Give them a few minutes – your patience will be rewarded!
Serve these mini marvels at your next gathering and watch them vanish before your eyes. Who needs a campfire when you’ve got these toasty treats?
Pro Tips
For a perfectly clean edge on your mini s’mores cups, use the bottom of a shot glass or small measuring spoon to press the graham cracker mixture firmly against the sides of each mini muffin cavity before baking.
This simple technique creates uniform cups that hold the chocolate and marshmallow securely, preventing messy overflow and making the final treats look professionally made.
Substitutions & Variations
These bite-sized treats offer endless possibilities for customization with simple swaps that maintain the s’mores essence while introducing new flavors.
- Peanut Butter Cup S’mores: Replace the Hershey’s squares with mini peanut butter cups for a creamy nutty twist that pairs perfectly with chocolate and marshmallow.
- Caramel S’mores: Add a small caramel square beneath the chocolate or drizzle caramel sauce over the toasted marshmallow for a sweet gooey addition.
- Gluten-Free Option: Substitute traditional graham crackers with gluten-free graham cracker crumbs to make this treat accessible for those with gluten sensitivities.
- Nutella S’mores: Spread a small amount of Nutella in the graham cracker cups instead of chocolate squares for a hazelnut chocolate flavor.
- Fruity S’mores: Place thin slices of banana or strawberry between the chocolate and marshmallow for a fresh fruity contrast to the sweet components.
Leftovers & Storage Tips
While these mini s’mores bites rarely last long in my household, properly storing any leftovers ensures they maintain their delicious texture and flavor for days.
Store them in an airtight container at room temperature for up to 3 days.
Pop them in the microwave for 10 seconds if you want that gooey marshmallow texture again—trust me, it’s worth it!
##
Mini S'mores Bites with Toasted Marshmallow
Delicious bite-sized s'mores treats with graham cracker cups, chocolate, and toasted marshmallows.
- Graham crackers
- Powdered sugar
- Butter (melted)
- Hershey's chocolate bars
- Large marshmallows
- Crush graham crackers into crumbs.
- Mix crumbs with powdered sugar and melted butter.
- Press mixture into a greased mini muffin pan, forming shallow cups.
- Bake 4-5 minutes until golden.
- Place one Hershey's square into each cup.
- Cut marshmallows in half, place cut-side down on chocolate.
- Broil for 1-2 minutes until marshmallows toast, watch closely.
- Remove and cool before serving.
