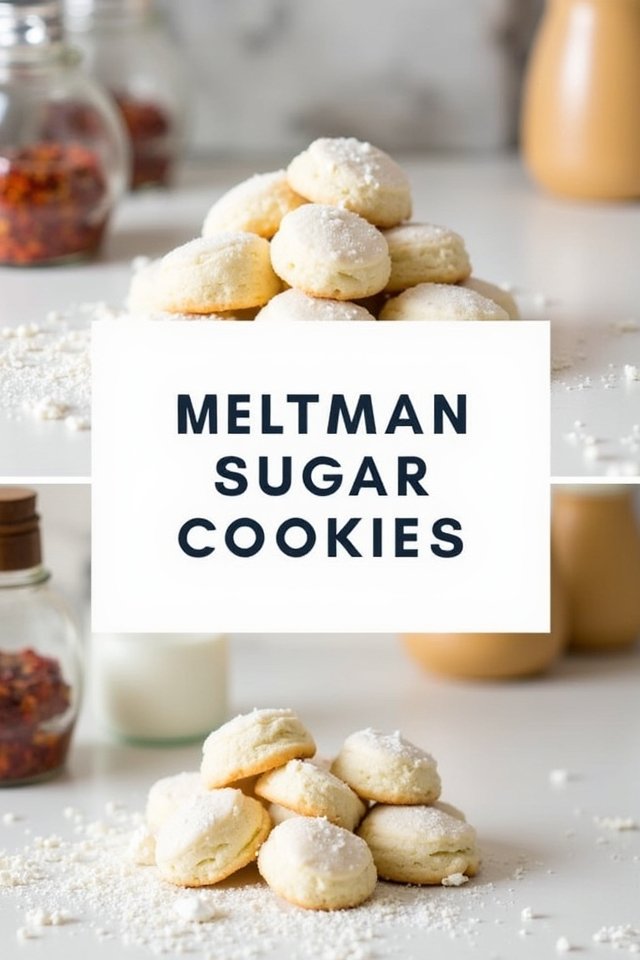
I’m so excited to share my favorite holiday baking project with you: Melted Snowman Sugar Cookies!
These adorable treats always steal the show at winter gatherings.
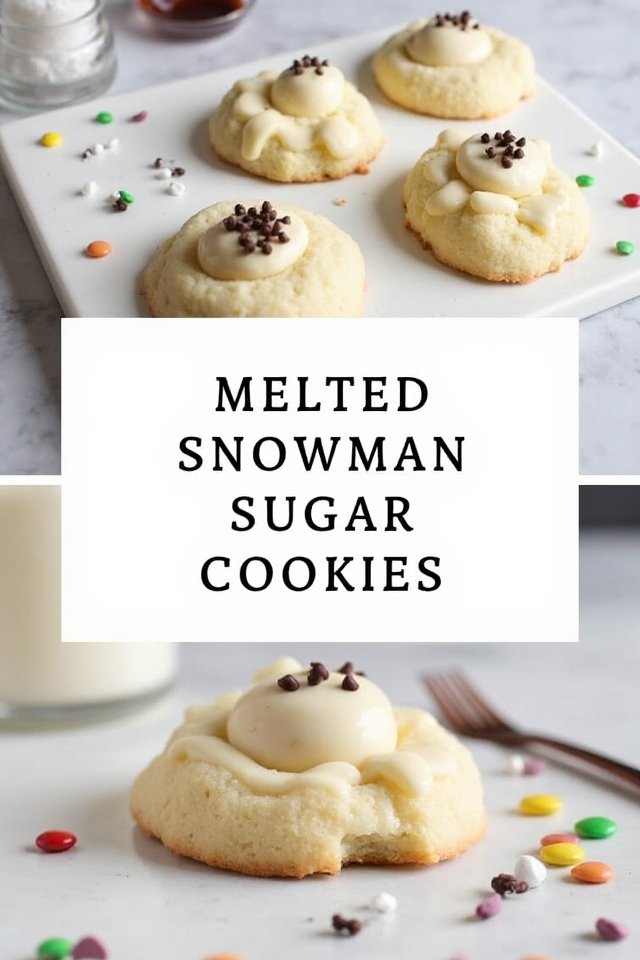
Imagine a puddle of sweet icing topped with a marshmallow “melting” snowman, complete with candy eyes and colorful decorations.
They’re not just cookies; they’re tiny works of art that tell a story!
Want to know the secret to making these festive little guys that’ll have everyone at your party asking for the recipe?
Ingredients
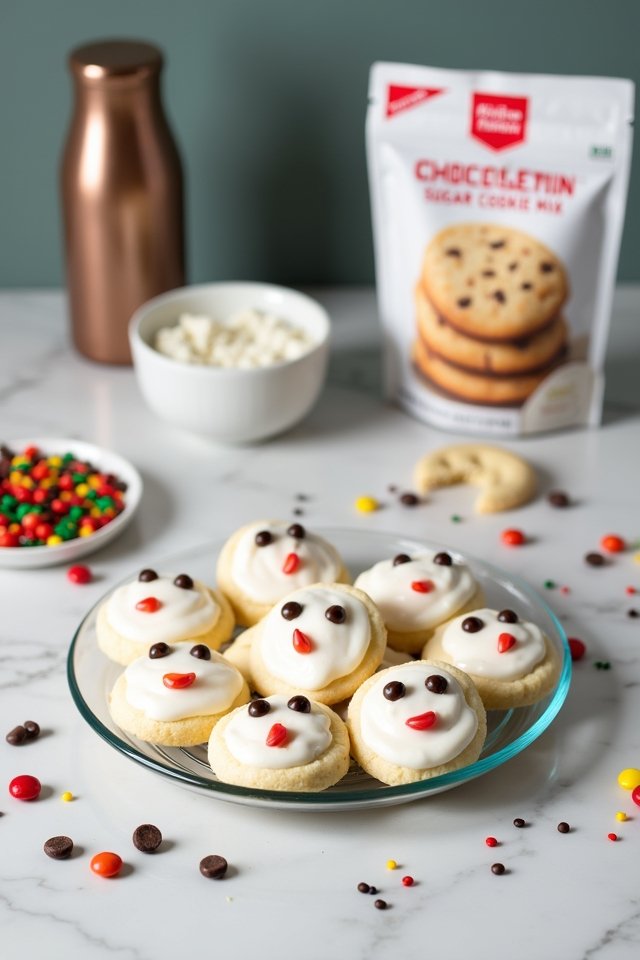
- Sugar cookie mix
- Butter
- Egg
- Marshmallows
- White cookie icing
- Red cookie icing
- Blue cookie icing
- Green cookie icing
- Black decorating gel
- Chocolate sprinkles
- Rainbow chip candies
Recommended Tools
Creating these adorable melted snowman cookies is so much easier when you have the right tools on hand. These kitchen essentials will help you mix, bake and decorate these festive treats with precision and make the whole process a lot more enjoyable for everyone involved.
- Cookie Sheet:
A sturdy baking sheet gives your sugar cookies the perfect golden bottom without burning.
- Cooling Rack:
Allows your cookies to cool completely and evenly before decorating with icing and marshmallows.
- Piping Bags:
Makes it easier to control the flow of icing when creating the snow puddles and decorative details.
- Mixing Bowls:
Essential for preparing the cookie dough according to the package directions.
- Offset Spatula:
Helps you transfer freshly baked cookies to the cooling rack without breaking them.
- Food Decorating Brush:
Perfect for detailed work when adding faces to the marshmallow snowmen or touching up decorations.
Instructions for Melted Snowman Sugar Cookies
Ready to create the cutest winter treats ever? These melted snowman cookies are super fun to make and will bring smiles to everyone who sees them!
Start by grabbing one 17.5 oz pouch of sugar cookie mix and follow the package directions, adding the butter and egg it calls for. Bake up 12 large cookies and let them cool completely—no rushing this step or your snowmen will really melt!
Once your cookies are cool, it’s time for the fun part! Take your white cookie icing and outline a “snow puddle” shape on each cookie. Then fill it in completely. While the icing is still wet, place a large marshmallow (this is your snowman’s head!) on one side of the puddle. Press gently so it sticks.
After the white icing has set a bit, use black decorating gel to create two little stick arms coming out from the marshmallow. Don’t forget to add chocolate sprinkles as fingers—these tiny details make all the difference!
Now let’s give your snowman a face! Use white icing as “glue” to attach two rainbow chip candies for eyes and another for the nose. Then add a little smile with the black gel. Your snowman is coming to life!
Every snowman needs a cozy scarf, right? Choose your favorite colored icing—red, blue, or green—and draw a scarf around the marshmallow’s “neck.” Then place three rainbow chip candies in a vertical line below the head as buttons.
Let your finished cookies set for at least 1 hour before serving or stacking. This gives all that icing time to firm up so your adorable snowmen don’t get squished!
Pro tip: When creating your snow puddle, drawing the outline first and then filling it in makes for a much neater result. Your melted snowmen will look deliberately adorable, not accidentally messy!
Pro Tips
For perfect marshmallow “snowman heads” that stick securely to the cookie, place them on the white icing while it’s still wet, as this creates a natural adhesive that prevents the marshmallow from sliding off once set.
Substitutions & Variations
These festive melted snowman cookies can be customized with simple swaps for different dietary needs or visual effects without losing their charming appeal.
- Gluten-Free Option: Substitute a gluten-free cookie mix for the regular sugar cookie base and verify all decorations are gluten-free certified.
- Vegan Version: Use vegan cookie mix or recipe with plant-based butter and egg replacer then substitute vegan marshmallows and confirm all candies and decorating gels are plant-based.
- Gingerbread Base: Replace sugar cookies with gingerbread cookies for a spicy twist that creates a festive flavor profile and darker “puddle” contrast.
- Colorful Snowmen: Add a drop of food coloring to the marshmallows before placing them or use colored marshmallows to create fun rainbow snowmen.
- Chocolate Dipped: Half-dip the marshmallow “heads” in melted chocolate before attaching to create snowmen wearing cute chocolate hats.
- Holiday Themed: Customize scarves and decorations with seasonal colors like red and green for Christmas, pastels for Easter or team colors for game days.
Leftovers & Storage Tips
Properly stored melted snowman cookies can maintain their charm for days after you’ve created them, though I’ll admit they rarely last long in my house!
Store them in an airtight container with parchment paper between layers to prevent sticking.
They’ll keep for 3-4 days at room temperature or up to a week in the fridge.
Just let them warm up before serving!
Adorable Winter Family Project
Melted Snowman <strong>Sugar Cookies</strong>
Adorable melted snowman cookies made with sugar cookies, marshmallows, and decorative icing - perfect for winter fun.
- 1 pouch (17.5 oz) sugar cookie mix plus butter and egg per package
- 12 large marshmallows
- White, red, blue, green cookie icing pouches
- Black decorating gel
- Chocolate sprinkles
- Rainbow chip candies
- Prepare and bake 12 large cookies as per mix directions; cool completely.
- Outline and fill a "snow puddle" with white icing on each cookie.
- While wet, place a marshmallow on one side.
- When set, pipe black gel "arms" with sprinkles for fingers.
- Use white icing to attach rainbow chip eyes and nose on marshmallow; dot mouth with black gel.
- Draw scarves with colored icing and attach three rainbow chip buttons beneath.
- Let cookies set 1 hour before serving.
