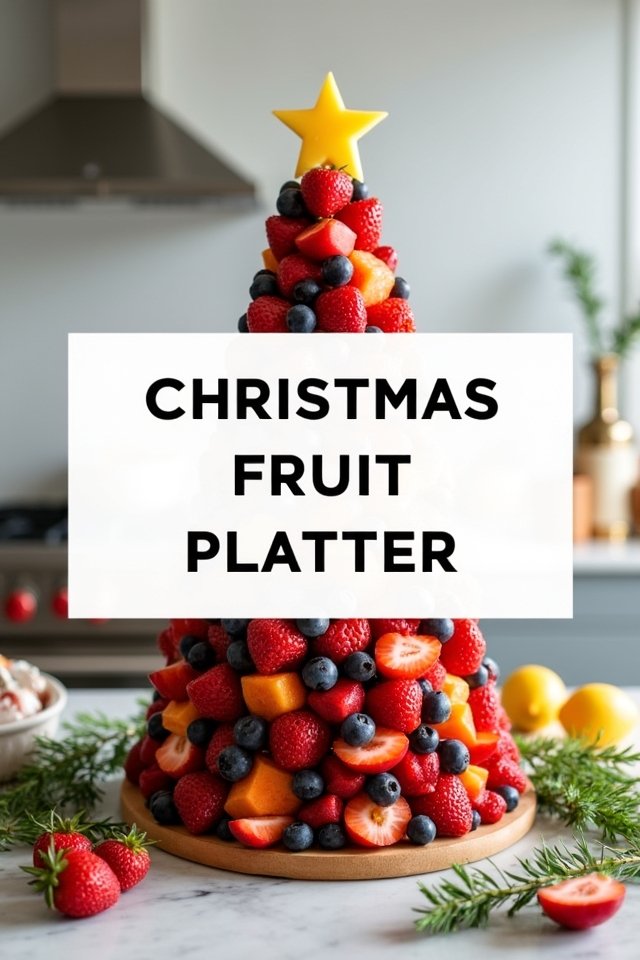
This Christmas Tree Fruit Platter will make everyone at your holiday party smile!
This eye-catching centerpiece isn’t just beautiful. It’s delicious and healthy too.
These festive treats always disappear faster than presents on Christmas morning.
The secret techniques for creating the perfect fruit tree ensure it stands tall and looks amazing until the last piece is gobbled up.
Ingredients
Recommended Tools
Creating a stunning Christmas Tree Fruit Platter doesn’t require fancy equipment, but a few key tools will make the process so much easier. These kitchen essentials help you transform ordinary fruit into a festive centerpiece that will wow your holiday guests.
- Star Cookie Cutter:
Essential for creating the perfect pineapple star to top your Christmas tree platter.
- Bamboo Skewers:
Provides the central support for your fruit tree and holds the pineapple and pear together.
- Toothpicks:
These little helpers secure all the fruit pieces to your pineapple base in decorative patterns.
- Sharp Knife:
Makes clean cuts through pineapple and other fruits for precise shaping and presentation.
- Cutting Board:
Provides a stable surface for safely cutting and preparing all your colorful fruits.
- Serving Platter:
A large, flat tray gives your fruit Christmas tree a sturdy foundation and makes it easy to transport.
Instructions for Christmas Tree Fruit Platter
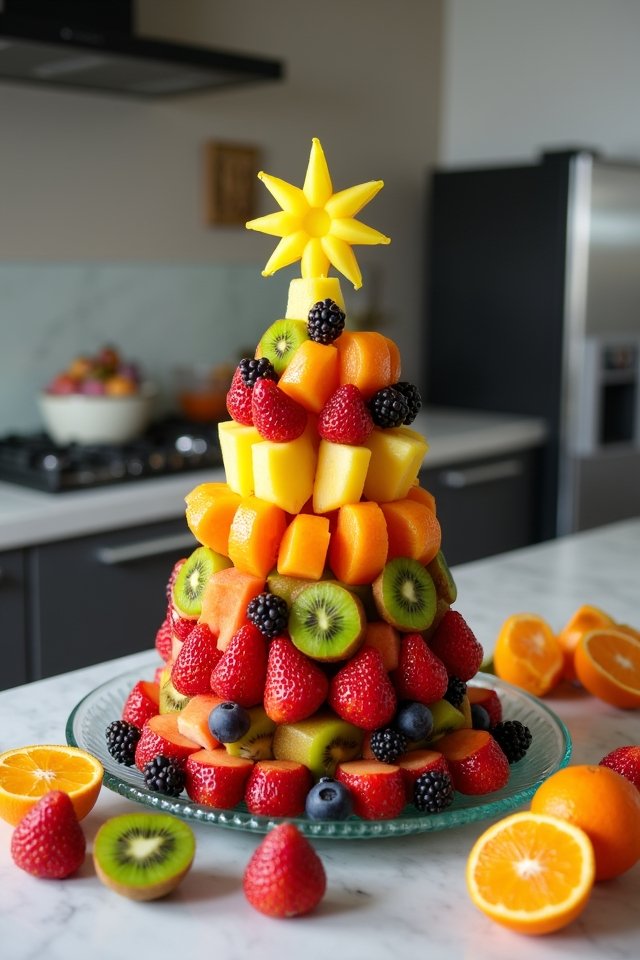
Let’s turn ordinary fruit into a showstopping holiday centerpiece that’s both festive and delicious! This gorgeous edible Christmas tree is easier than you think.
- Start with your 1 ripe pineapple and slice off the top and bottom. Take that top slice and use a star cookie cutter to create your tree topper. Set this little star aside for later – it’s going to be the crowning touch!
- Now for the fun part – sculpt your pineapple into a cone shape by trimming the sides at an angle. Think “Christmas tree shape” as you cut! Once you’ve got your cone, push a bamboo skewer straight through the center.
- Grab your slightly underripe pear and skewer it on top of the pineapple, leaving the end of the skewer sticking out (you’ll need this for your star).
- Position your pineapple-pear tree on your serving tray – this is your canvas!
- Time to decorate! Insert toothpicks at angles all around your pineapple and pear. These will hold your colorful “ornaments.”
- Start attaching your fruits to the toothpicks. Begin with larger pieces like your 3 kiwis (cut into sixths), 8 oz of strawberries, and 2 peeled clementines (separated into segments).
- Fill in the gaps with smaller fruits like your 6 oz of blackberries and the 1.5 cups each of red and green grapes. Mix the colors around for that perfect Christmas tree look!
- Finally, place your pineapple star on top of the skewer – ta-da! Your edible Christmas tree is complete!
Want to prep ahead? No problem! You can make this beauty up to 24 hours in advance – just cover it loosely and refrigerate.
Feel free to swap in blueberries, raspberries, or any other fruits your family loves. The more colorful, the merrier!
Pro Tips
For a more dramatic presentation, insert your toothpicks at varying depths and angles, creating a more three-dimensional tree effect that shows off the colorful fruit layers.
Substitutions & Variations
While the classic Christmas Tree Fruit Platter is already a festive favorite, exploring different fruits and arrangements can breathe new life into this holiday centerpiece.
- Tropical Twist: Replace clementines with mango chunks, kiwis with papaya slices and add lychees for an exotic take on the traditional tree.
- Berry Bliss: Skip the pear top and use only berries such as strawberries, blackberries, raspberries and blueberries for a vibrant all-berry creation.
- Chocolate Dipped Delight: Dip strawberries, banana slices and pineapple chunks in dark or white chocolate before arranging on the tree for an indulgent touch.
- Melon Magic: Substitute watermelon for the pineapple base, cantaloupe chunks for clementines and honeydew pieces for kiwi to create a refreshing melon-focused version.
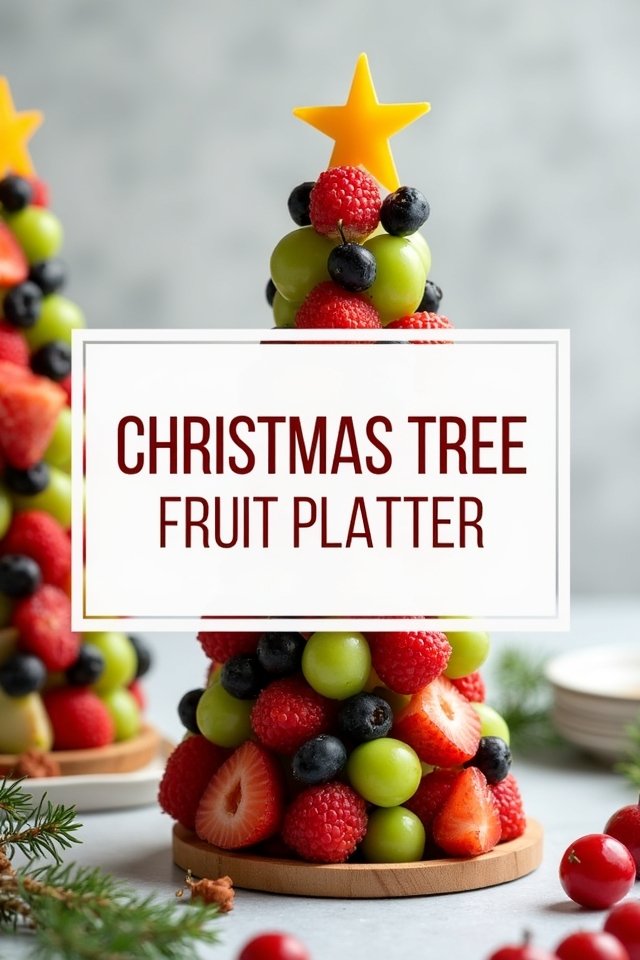
- Mini Trees: Create individual serving trees using half a pear as the base and smaller fruit pieces attached with shortened toothpicks for personal holiday platters.
Leftovers & Storage Tips
After your Christmas gathering wraps up, you’ll likely find yourself wondering what to do with that beautiful fruit tree that wasn’t completely devoured.
Don’t worry! Simply disassemble your tree and store fruits separately in airtight containers. Most will keep 2-3 days in the fridge.
For a quick breakfast, blend leftover fruit into smoothies or toss into yogurt parfaits – no waste and still delicious!
Wow Holiday Guests
Christmas Tree Fruit Platter
A festive fruit arrangement shaped like a Christmas tree that makes a beautiful holiday centerpiece.
- 1 ripe pineapple
- 1 pear (slightly underripe)
- 2 clementines, peeled and segmented
- 3 kiwis, ends trimmed and chopped into sixths with skin on
- 8 oz strawberries, stems removed
- 6 oz blackberries
- 1.5 cups red grapes
- 1.5 cups green grapes
- 1 bamboo skewer
- Toothpicks
- Slice top and bottom off pineapple; cut a thin slice from the top and use a star cookie cutter to make a star. Set aside.
- Trim pineapple sides at an angle to form a cone shape. Push bamboo skewer through the center and skewer pear on top, leaving skewer end free.
- Place pineapple base on tray. Insert toothpicks at an angle around pineapple and pear, attaching fruit pieces. Start with larger fruits, then fill gaps with smaller fruits.
- Top skewer with star-shaped pineapple piece and serve.
