I make the easiest air fryer lava cake with just flour, cocoa powder, egg, baking powder, vanilla, butter, sweetener and chocolate chips!
Melt your chocolate with butter, mix in the rest, and air fry at 350°F for 10-12 minutes in a greased ramekin.
The secret? Pull it out when the edges are set but the center still jiggles—that’s how you get that perfect molten middle!
Let’s explore some delicious variations to make this treat your own.
Ingredients
- All-purpose flour
- Unsweetened cocoa powder
- Egg
- Baking powder
- Vanilla extract
- Butter (light butter spread)
- Sweetener (e.g., monkfruit)
- Sugar-free semi-sweet chocolate chips
Additionally, you might enjoy a colorful lentil salad as a refreshing side dish to complement your dessert.
Recommended Tools
-
- Air Fryer:
The star of the show that cooks your lava cake faster than a conventional oven while giving it that perfect texture. Plus, using an air fryer can also create crispy textures similar to those found in other air-fried dishes like shishito peppers.
- 8 oz Ramekins:
These small ceramic dishes are the perfect size for individual lava cakes and help them cook evenly.
- Microwave-Safe Bowl:
Essential for melting your butter and chocolate chips together quickly before mixing with other ingredients.
- Measuring Spoons:
Crucial for getting those tablespoon measurements of flour, cocoa powder and sweetener just right.
- Silicone Spatula:
Perfect for scraping every bit of batter from your mixing bowl and ensuring everything is well combined.
- Cooking Spray:
Helps prevent your lava cake from sticking to the ramekin so it comes out cleanly when inverted onto a plate.
- Air Fryer:
Instructions
Let’s make a decadent chocolate lava cake right in your air fryer! This single-serve treat is super easy to whip up when you’re craving something chocolatey.
First, grab a microwave-safe bowl and add 1 tablespoon of butter and 21 sugar-free semi-sweet chocolate chips. Pop it in the microwave for about 6 seconds – yep, that’s all it takes! Give it a good stir until everything is smooth and melted together. This will be your chocolatey base!
Now for the fun part! Mix in 1/4 teaspoon of baking powder, 1/4 teaspoon of vanilla extract, and 1 beaten egg. Stir until everything is well combined. Your mixture should start looking glossy and amazing!
Time to add the dry ingredients! Sprinkle in 1 tablespoon of all-purpose flour, 1 tablespoon of unsweetened cocoa powder, and 1 tablespoon of sweetener (monkfruit works great here). Mix until you have a smooth, chocolatey batter without any lumps. Don’t overmix though – we want that cake to stay tender!
Grab an 8-ounce ramekin and give it a light coating of non-stick spray. Pour your batter in and smooth the top with the back of a spoon.
Place your ramekin in the air fryer basket and set the temperature to 350°F. Cook for 10-12 minutes. Remember, the magic of a lava cake is in the timing! Want more molten goodness in the center? Go for the shorter cooking time. Prefer it a bit more set? Let it cook the full 12 minutes.
When it’s done, let your cake cool for just a few minutes – but don’t wait too long! Carefully run a knife around the edge of the ramekin, then place a plate on top and flip it over to release the cake. Ta-da! Your personal chocolate lava cake is ready to devour!
Cut into it and watch that warm chocolate center ooze out. Isn’t that just the most satisfying thing ever?
Pro Tips
For a more consistent lava flow, use a toothpick to check doneness around the edges while keeping the center slightly underbaked.
When the edges are set but the center still jiggles slightly, it’s ready to remove from the air fryer.
Substitutions & Variations
While the basic air fryer chocolate lava cake recipe creates magic in minutes, customizing ingredients can transform this classic dessert with different flavors, textures and dietary adaptations.
-
-
- Gluten-Free Version: Substitute all-purpose flour with almond flour or a 1:1 gluten-free flour blend for those with gluten sensitivities.
- Flavor Infusions: Add 1/8 teaspoon of espresso powder, orange zest, mint extract or cinnamon to the batter for a flavor-enhanced chocolate experience.
- Filling Surprises: Place a frozen square of peanut butter, caramel or raspberry jam in the center of the batter before air frying for an unexpected filling.
- Vegan Adaptation: Replace egg with 2 tablespoons applesauce or mashed banana and use plant-based butter and vegan chocolate chips.
- Protein Boost: Mix in 1 tablespoon of chocolate protein powder and reduce flour by 1/2 tablespoon for a higher protein dessert option.
- Topping Variations: Serve with fresh berries, a sprinkle of sea salt, coconut whipped cream or a scoop of sugar-free ice cream to elevate presentation.
-
Leftovers & Storage Tips
Beyond customizing your air fryer chocolate lava cakes, you’ll want to know what to do with any extras you might’ve (though I’ll admit, leftovers are rare in my house!).
If you do manage to resist devouring them all, store any leftovers in the fridge for up to 2 days.
Simply reheat in the microwave for 15-20 seconds—they won’t be quite as gooey as fresh, but still delicious!
Top With Berries

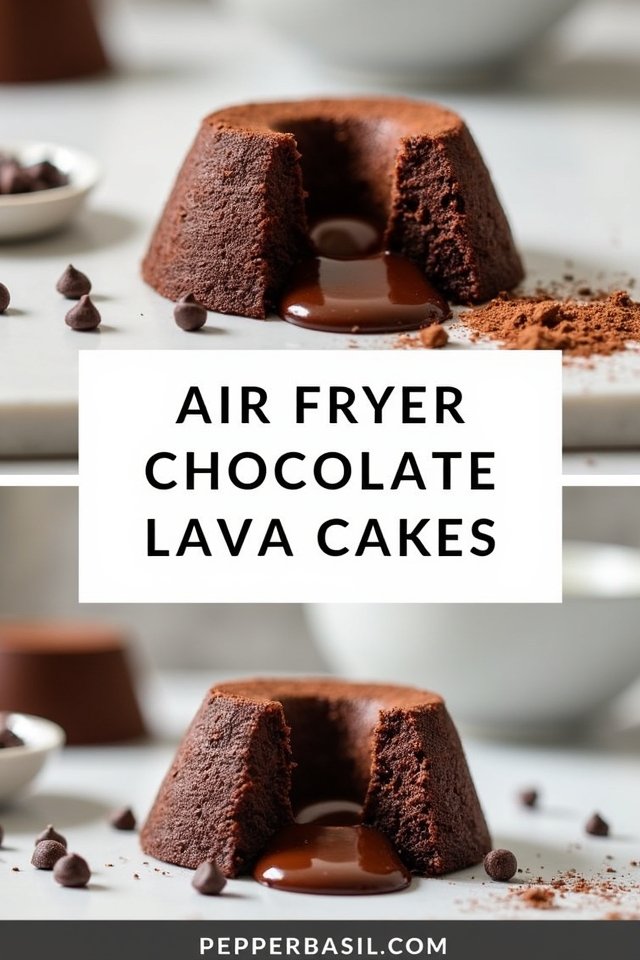
Air Fryer Chocolate Lava Cake (Single-Serve)
A quick and decadent single-serve chocolate lava cake made in the air fryer with a gooey, molten center.
- 1 tbsp all-purpose flour
- 1 tbsp unsweetened cocoa powder
- 1 egg (beaten)
- 1/4 tsp baking powder
- 1/4 tsp vanilla extract
- 1 tbsp butter (light butter spread)
- 1 tbsp sweetener (e.g., monkfruit)
- 21 sugar-free semi-sweet chocolate chips
- Melt butter and chocolate chips in microwave (~6 seconds), stir until smooth.
- Mix in baking powder, vanilla, and egg.
- Add flour, cocoa, and sweetener, stir to combine.
- Pour into greased 8 oz ramekin.
- Air fry at 350°F for 10-12 minutes.
- Cool a few minutes, then invert onto a plate to serve.
